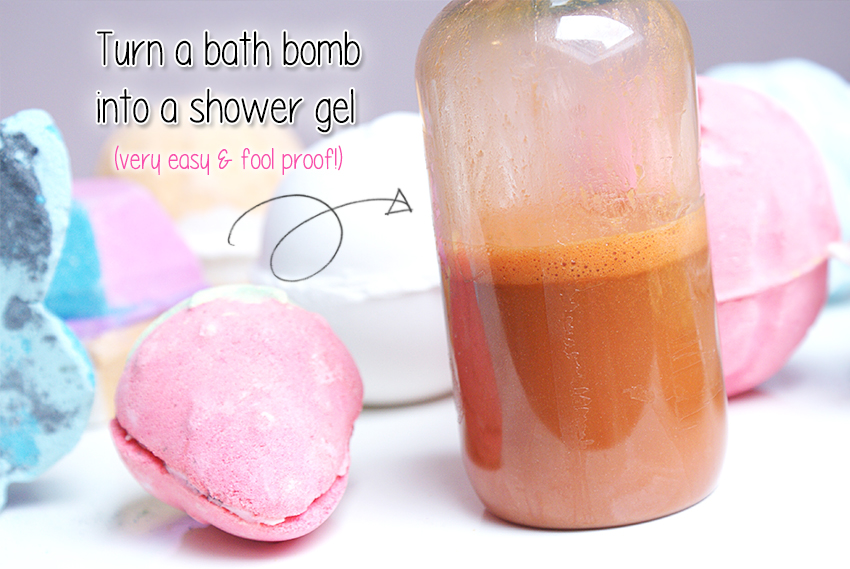
Yes, you read that right. Transforming a bath bomb into a shower gel really is possible. And it’s super easy. Why would you do this? Well, you might have a bath bomb laying around that you once received as a gift, and you can’t do anything with it, because you don’t have a bath (anymore). In that case, a DIY like this is fun to do. So if you still have a bath bomb somewhere that you ever got before Christmas from an aunt, grab it because this experiment is too fun not to try. Today I’ll show you how you do it!
What do you need?
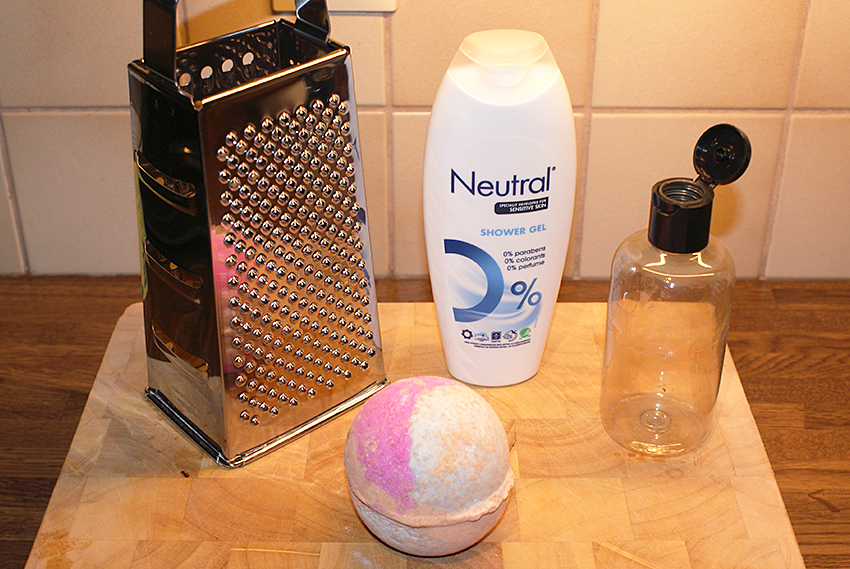
Before we start, let’s prepare some things first. You will need:
- A bath bomb. Seems obvious. I used Lush Harajuku bath bomb.
- An unscented shower gel without color, you’ll need about 150 ml.
- A grater.
- An empty bottle to put the shower gel in.
Also handy: a spoon, a measuring cup, an empty bowl and a funnel.
Okay, now what?
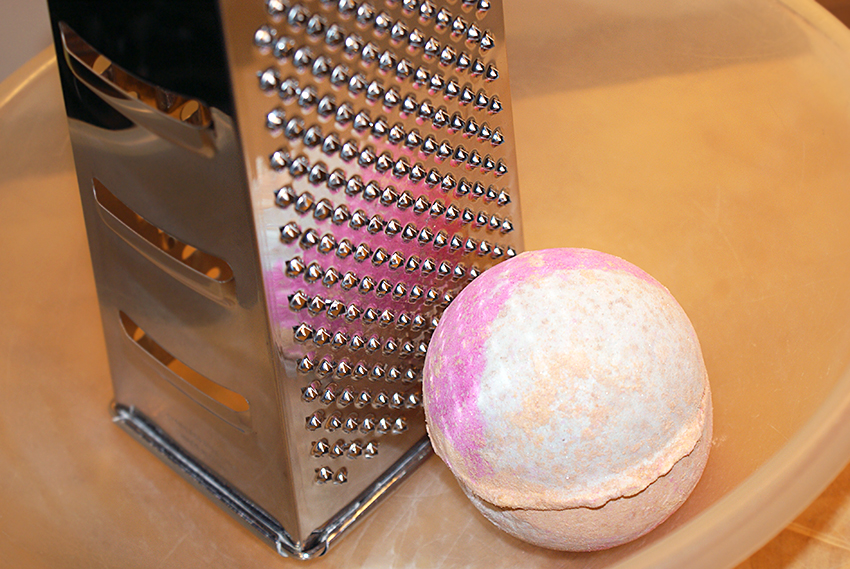
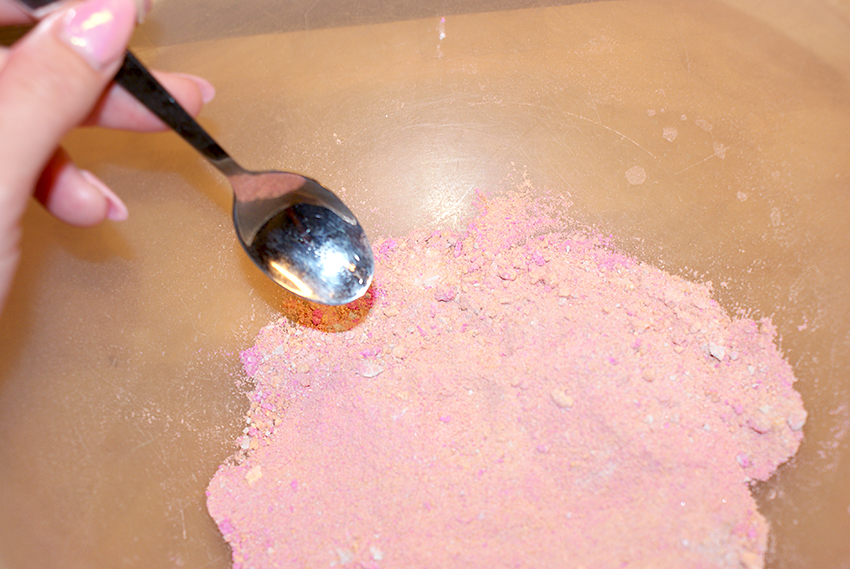
On the pictures above you can see how its done. Easy, isn’t it? I will also explain, step by step, how to do it.
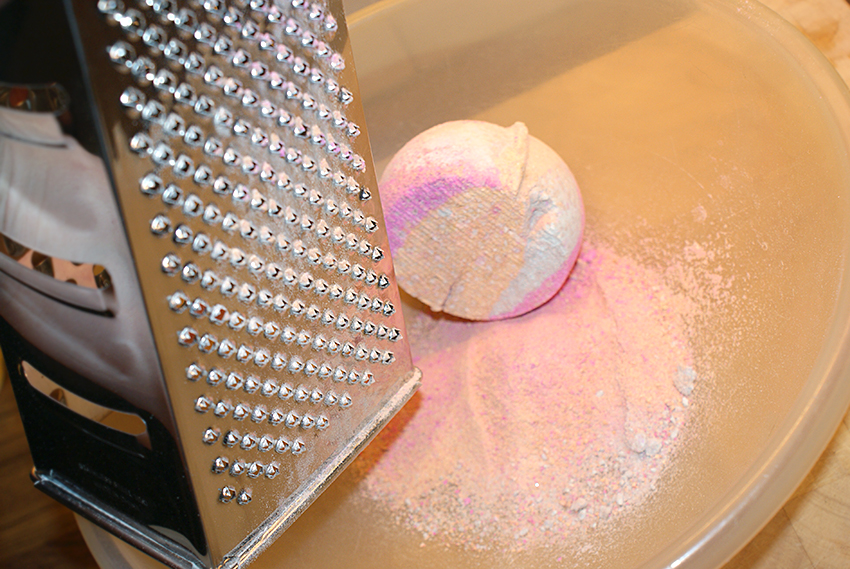
- Grate the bath bomb all the way until you’ve got dust left. If there’s chunks left, you can crush them with a spoon.
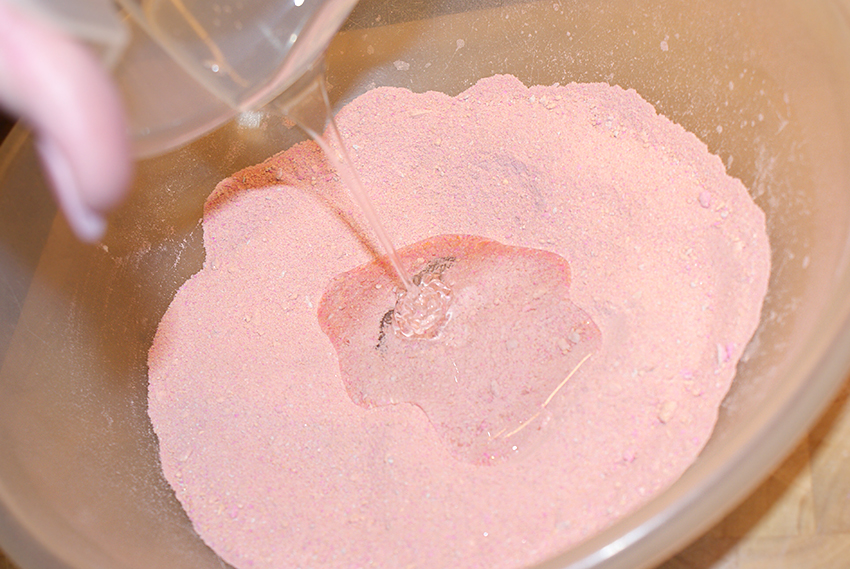
- Pour 150 ml of unscented shower gel into the bowl with the bath bomb dust.
I used a bath bomb that I think weighs about 180 grams, it’s the average size of a Lush bath bomb. So if you use a smaller bath bomb, then use less shower gel. I’d say the ratio is pretty 1:1. Do not use too much shower gel though, or too little, otherwise you will get very weird proportions. - You will see that the shower gel starts to expand a little bit, due to the liquid that’s added to it. The expanded foam will shrink, but that might take half an hour or so, so go and do something fun in the meantime. Like reading my blog.
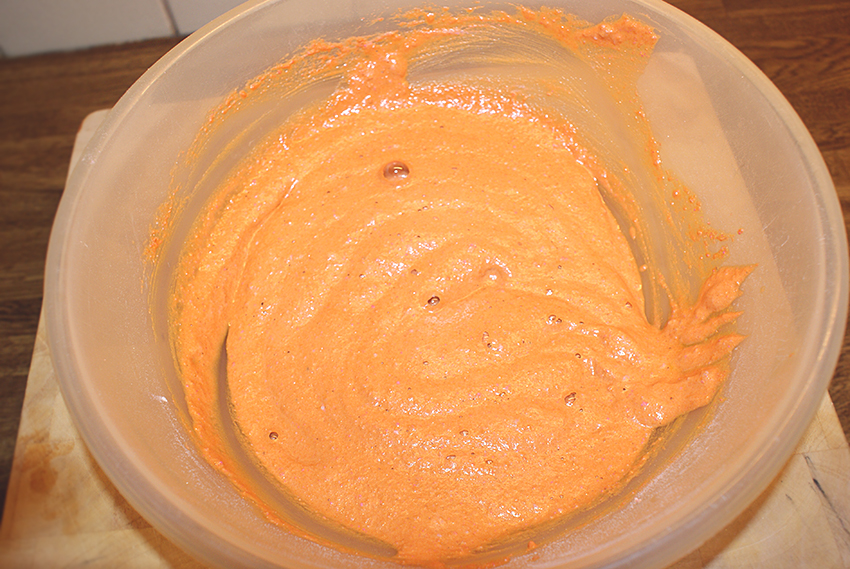
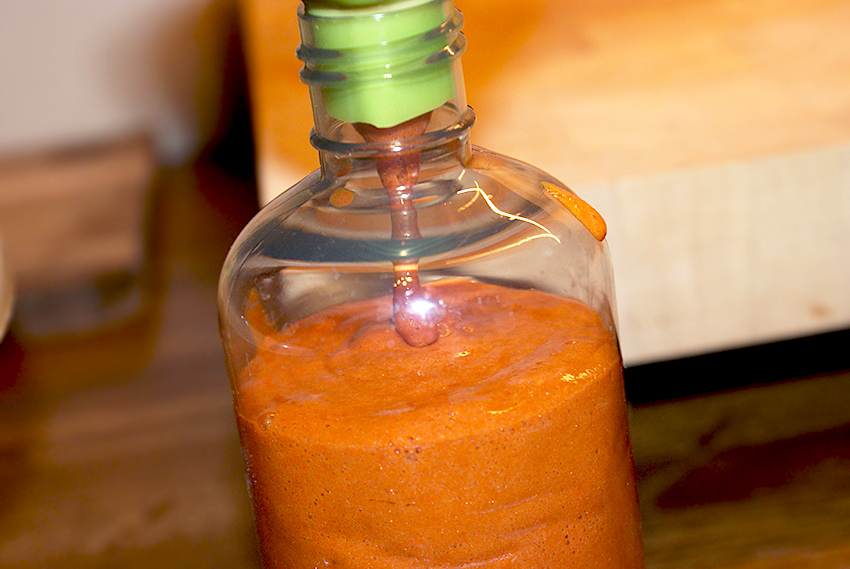
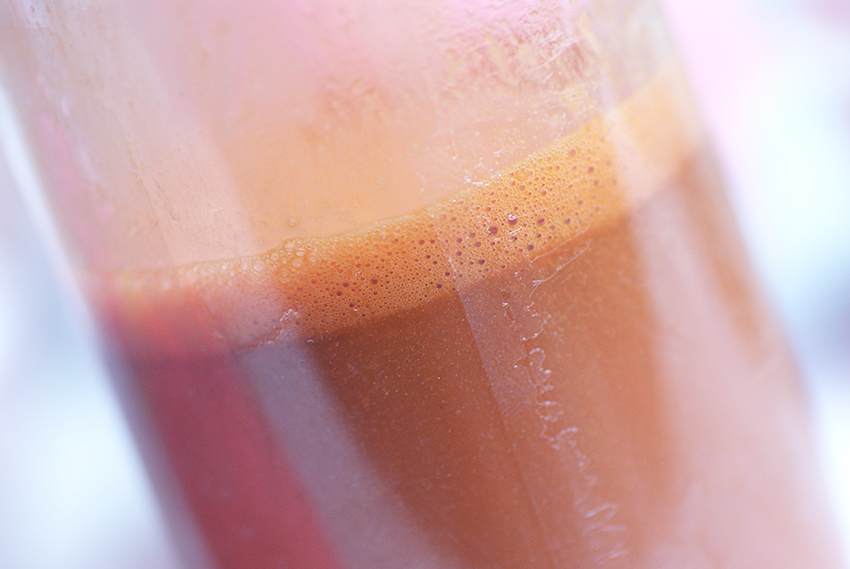
- After half an hour your new shower gel has already become slightly thinner in structure. If not, abort mission and start over. Place a funnel on the opening of an empty bottle and pour or scoop the brew into the empty bottle.
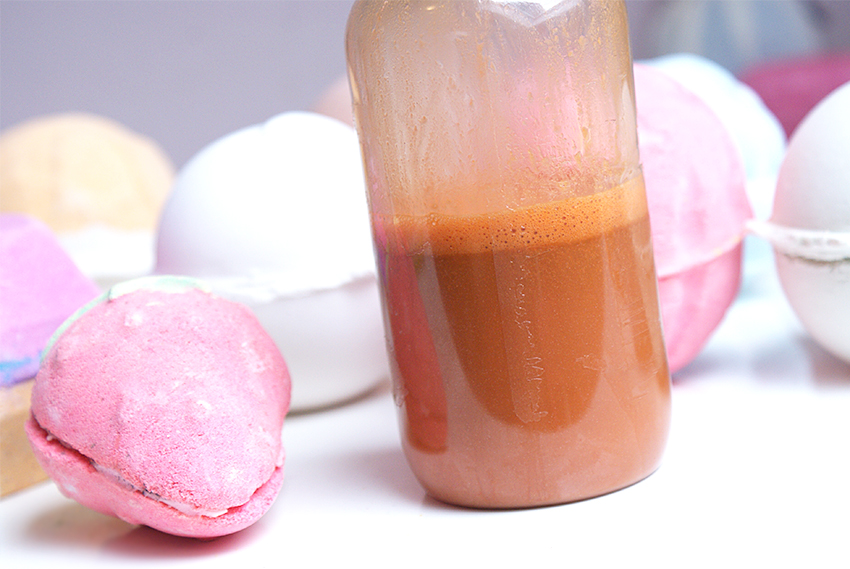
- After about 12 hours you will notice that the shower gel has become thinner. When the foam is dissolved, you have a little less shower gel left, this is normal. It is also normal that the color is different than the bath bomb itself. I myself used Harajuku, and although it’s really beautiful in the tub, the shower gel has become a disgusting color. 🙈
Done!!! You’re now left with a bottle of your own made shower gel, which is merely a combination of unscented shower gel and a grated bath bomb. It’s that easy.
I love my own created shower gel! There’s a little bit of dust left in the shower gel, but this is actually very nice as it will lightly scrub your skin. The scent is very well present and your entire bathroom will smell like the bath bomb. Please do note that there are NO preservatives in the shower gel, so I advice that you’d use it within 4 weeks, I have no clue what the quality of the shower gel will be after that time.
Well, I hope you enjoyed this DIY. It’s fairly easy, and a lot of fun to do. Next time I’m planning on creating my own shower gel from a bubble bar — but if you have any ideas for me regarding a DIY, let me know! Good luck making your own shower gel and if you have any questions, feel free to ask them in the comments! 😊

One Response to DIY: Turn a bath bomb into a shower gel
Leave a Reply


My mixer turned into a paste not liquidy at all. What should I do?